
Artwork Template Guidelines
Everything you need to design print-ready postcards for TouchDrop. Download a blank template, follow these specs, and your artwork will look great on paper.
Download Templates
Start from a real, correctly-sized blank. All templates are 210 x 99 mm trim only — no bleed — so what you design is what gets printed.
Blank front + back templates
210 x 99 mm trim, no bleed. Drop these straight into Canva, Figma, Illustrator or any print tool. Choose guided if you want trim & safe-zone markers and (on the back) the labelled reserved areas. Choose unguided for a pure blank artboard you can send to print.
Download templates (.zip) Front + back blank PDFs in one file


Postcard Sizes
TouchDrop uses a standard postcard in landscape orientation (wider than it is tall).
Standard
210 x 99 mm · 6 cards per print sheet.
Artwork Specs
Follow these specs so your artwork prints crisply and at the right size.
File Format
PNG or PDF. PNG recommended for best quality.
Resolution
300 DPI minimum. Lower resolution will print blurry.
Colour Mode
CMYK recommended. RGB is accepted but colours may shift slightly in print.
Canvas Size
210 x 99 mm trim, no bleed. Design to the trim edge — the templates above are sized for this exactly.
Safe Zone
Keep all important content (text, logos, discount codes) at least 5 mm in from every edge. Anything in the outer 5 mm may be trimmed during cutting.
Front Side Design
The front of the postcard is your creative canvas. There are no postal restrictions on this side — design edge to edge however you like.
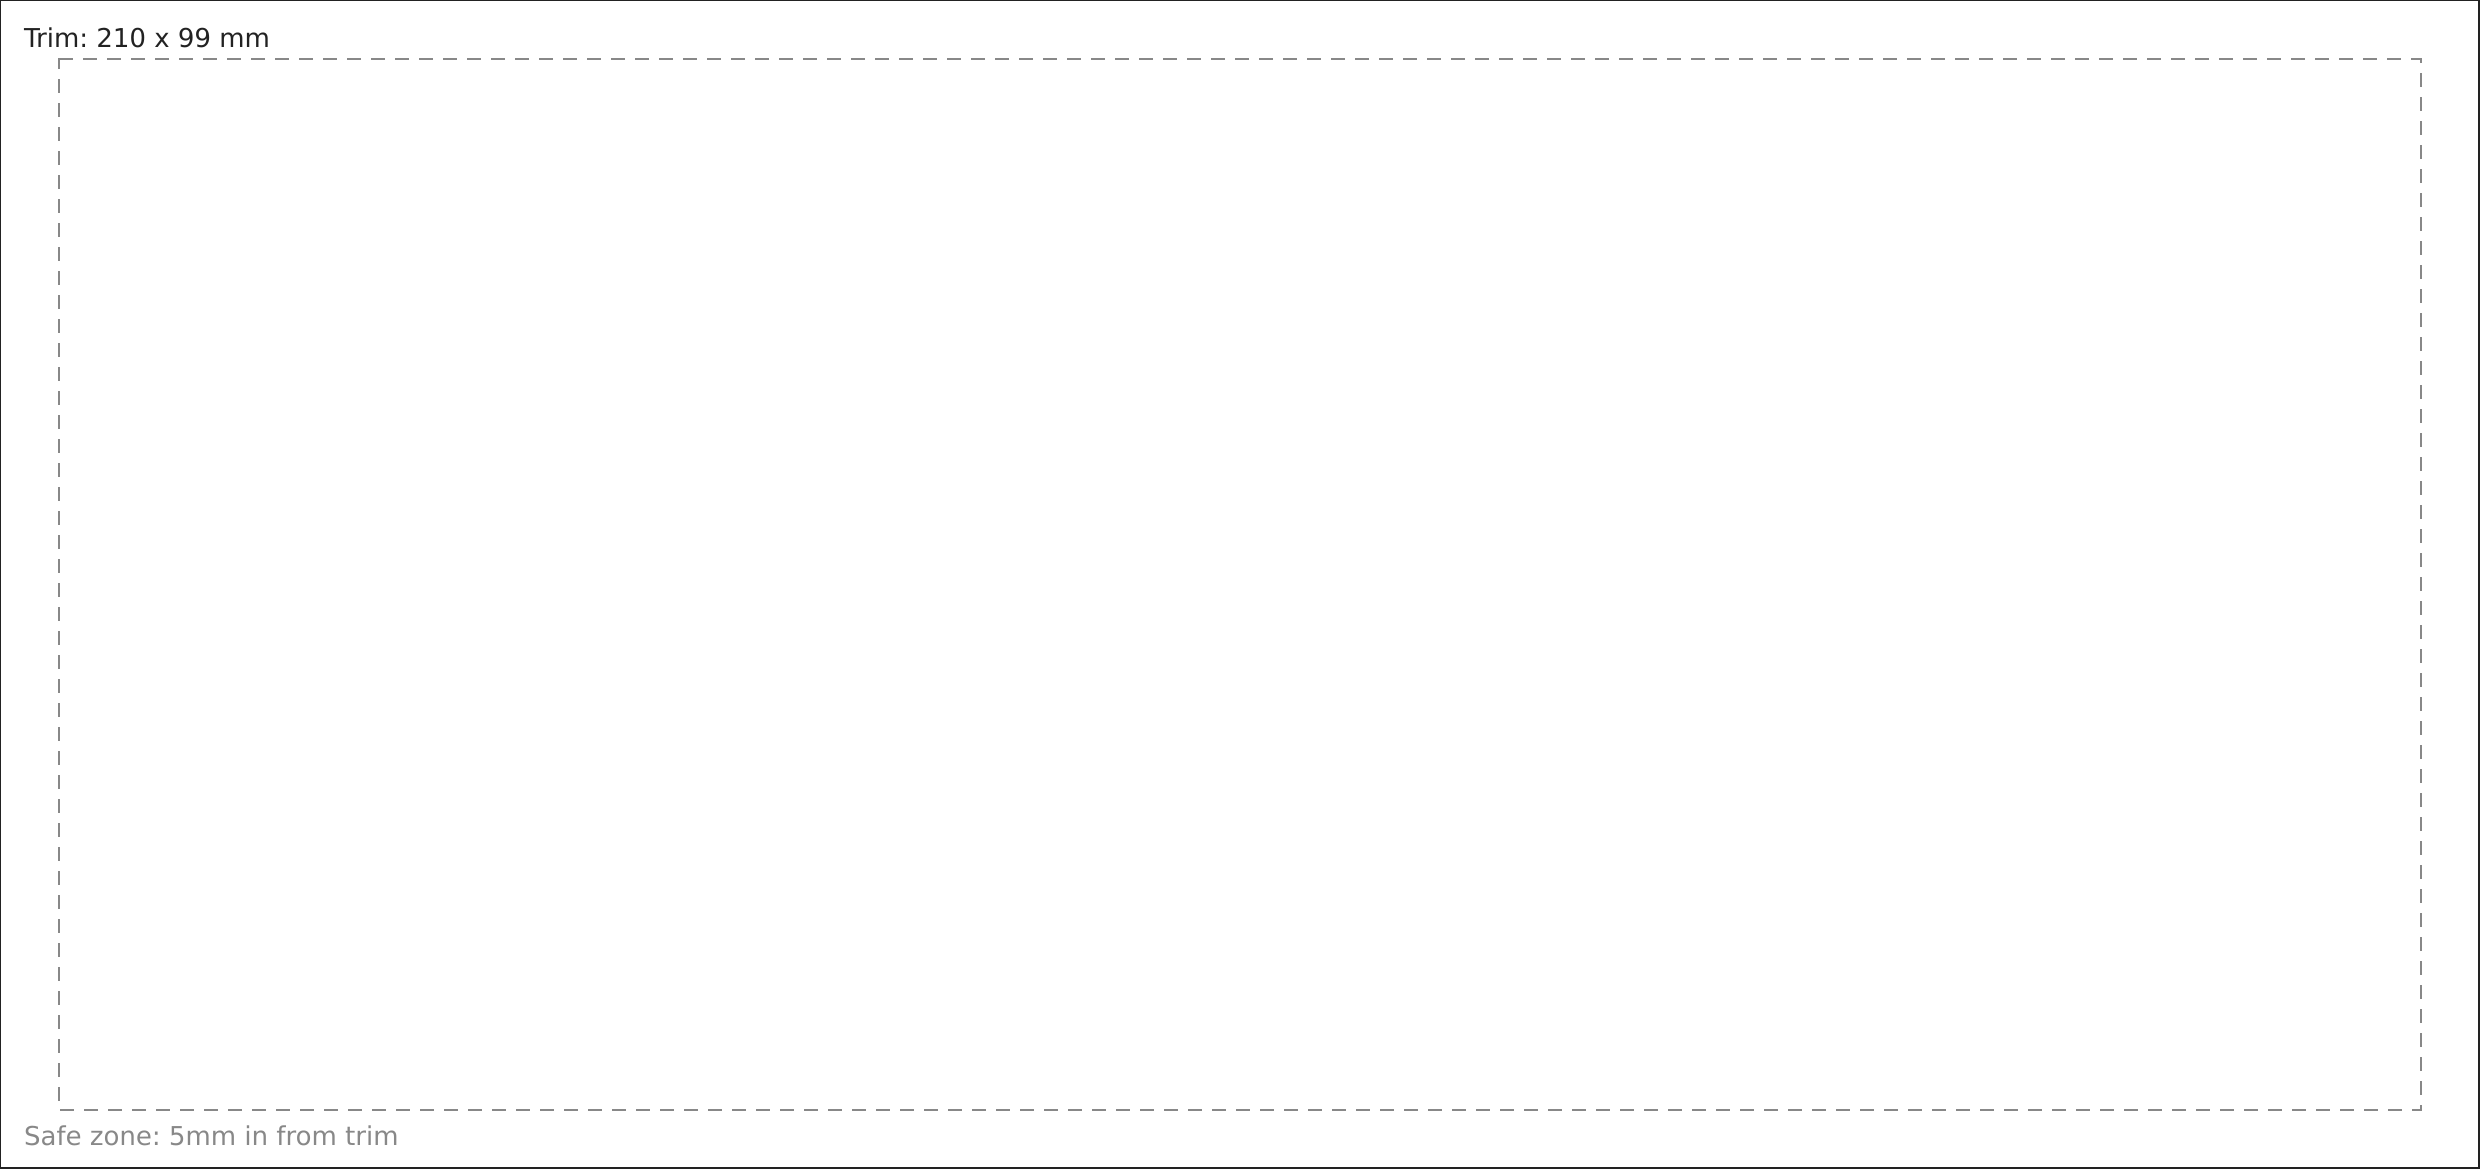
- Full-bleed artwork — your design covers the entire front, edge to edge.
- Use bold imagery and a clear, single headline to grab attention.
- Include your brand logo so recipients immediately recognise who it’s from.
- Keep the design simple — postcards are glanced at in seconds.
- If you use personalisation on the front (e.g. first name), make sure it has enough contrast to read clearly.
- Pair a QR code with a typeable discount code — that way people can redeem either way.
Back Side (Australia Post Layout)
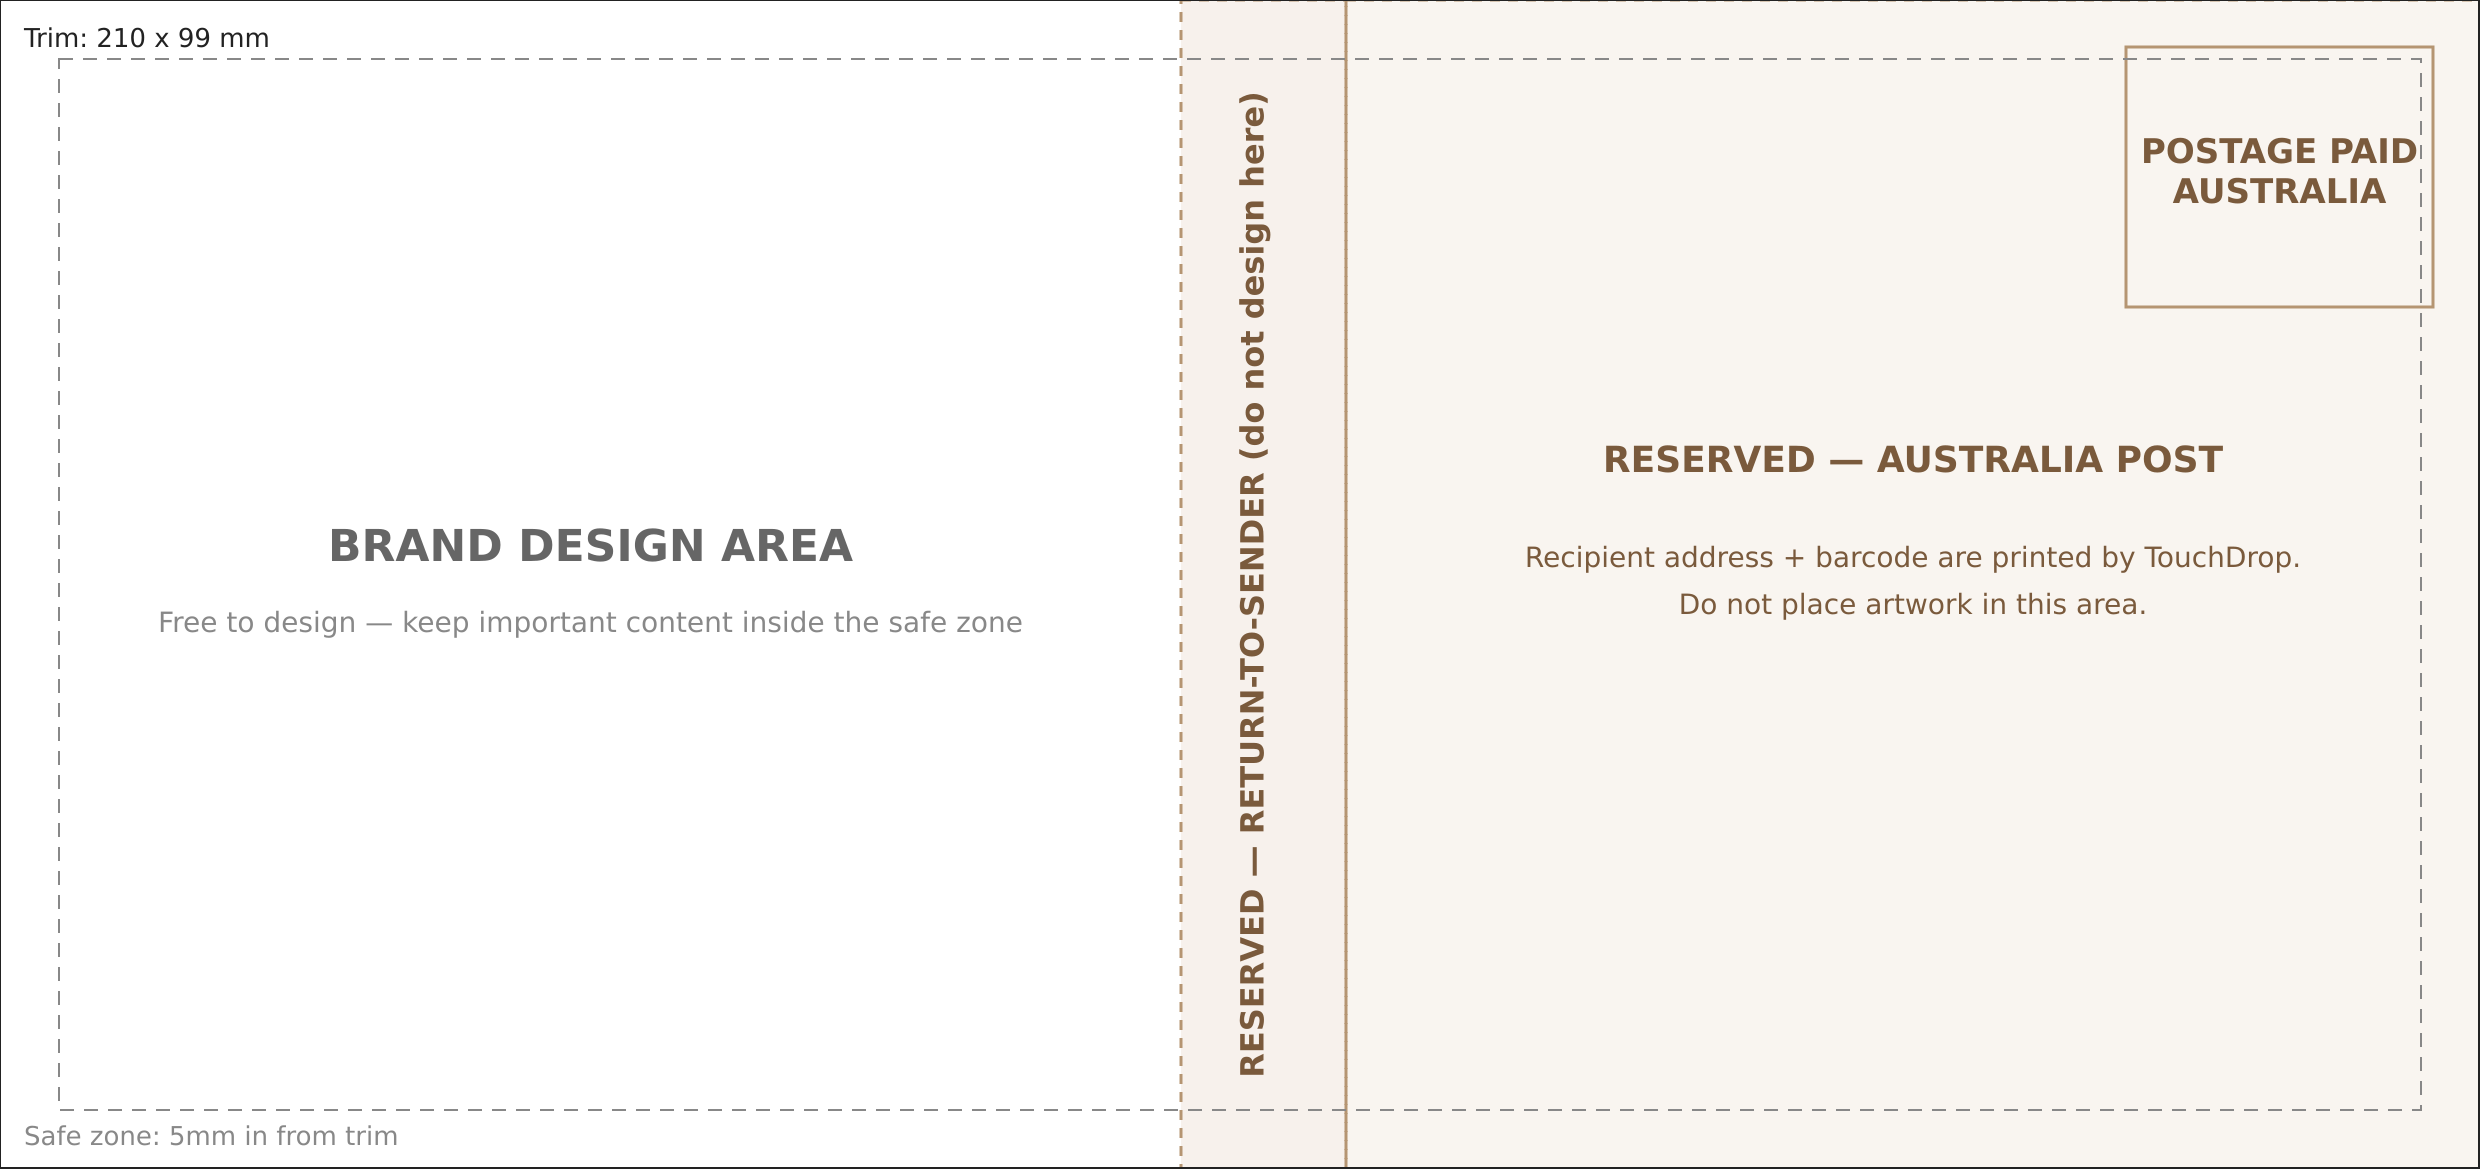
This is the layout we use in production. The back is split into three areas: the left is yours to design, the centre vertical strip and the entire right area are reserved for Australia Post and must be left blank.
Left — Brand Design Area
Free to design. Roughly the left ~100 mm of the card. Logo, message, social handles, terms & conditions, anything you want. Keep important content inside the 5 mm safe zone.
Centre — Reserved Strip
Do not design here. A narrow vertical strip down the middle is reserved for the printed “If undelivered, please return to…” return-to-sender line.
Right — Reserved AusPost Area
Do not design here. The right portion of the card holds the postage paid indicia (top-right), the recipient address block and the Australia Post barcode.
TouchDrop generates the address, barcode and indicia for you
You only control the left brand design area on the back. The recipient address, the barcode and the postage paid indicia are added automatically at print time, per recipient. That’s why the centre strip and the entire right area must be left blank — anything you put there will collide with what we print over the top.
Hard rule: no artwork in any reserved area
No background colour, no logo, no QR code, no lines, no shadows, no decorative borders — nothing — may sit in the centre strip or the right reserved area. Even light colour will reduce barcode and address scan reliability and can cause your card to be returned undelivered.
Personalisation & Merge Fields
Make every postcard unique. When you create a template in TouchDrop, you can place variable fields on your design. These are replaced with real customer data when the postcards are printed.
First Name {{first_name}}
Replaced with the recipient’s first name from your audience list.
Last Name {{last_name}}
Replaced with the recipient’s last name.
Discount Code {{discount_code}}
A unique, trackable discount code generated per recipient. Links back to your Shopify store for attribution.
QR Code {{qr_url}}
A unique trackable URL rendered as a scannable QR code on the printed card.
Expiry Date {{expiry_date}}
The expiration date of the discount code, formatted for display on the card.
Uploading Your Design
Here’s how to go from your design file to a ready-to-print template in TouchDrop.
- Download a blank template from step 1 and design into it in Canva, Figma, Illustrator or any tool you like.
- Go to Templates and click “New Template”. Give it a name and pick which merge fields to use.
- Upload your front artwork (210 x 99 mm at 300 DPI minimum).
- Upload your back artwork. Keep all design inside the left brand design area — leave the centre strip and the entire right area blank.
- Use the visual editor to drag merge fields into position on the card.
- Preview with the zone overlay to confirm nothing overlaps reserved areas.
- Set status to Ready and save. Only Ready templates can be used in campaigns.
Tips & Common Mistakes
Do
- Start from a downloaded blank template above
- Export at 300 DPI or higher
- Keep important content at least 5 mm in from every edge (safe zone)
- Use high-contrast text over images
- Test with the zone overlay before saving
- Use CMYK colour mode for accurate colours
- On the back, design only inside the left brand area
Don’t
- Don’t design on the right reserved area on the back — address, barcode and indicia live there
- Don’t place any ink, colour or graphic over the centre return-to-sender strip
- Don’t place artwork over the postage paid indicia (top-right of the back)
- Don’t print the guided template ‘as is’ — use the unguided one for production so the labels don’t print
- Don’t use images below 150 DPI — they’ll print blurry
- Don’t use very thin fonts — they can disappear in print
- Don’t upload GIF, WebP, or SVG files — only PNG and PDF are supported